Do outdoor gatherings need more air of perfection than you seek due to a faulty pool screen? If you answer yes, it’s time to begin a pool screen replacement project. In pool maintenance, replacing and upgrading your pool screens are often overlooked, but it significantly enhances your outdoor experience.
This guide on screen replacement for pools will shed some light on how you can easily revamp your outdoor experience. Let’s dive in and explore the appealing world of pool screen updates and how they can take your swimming pool area to a new aesthetic level.
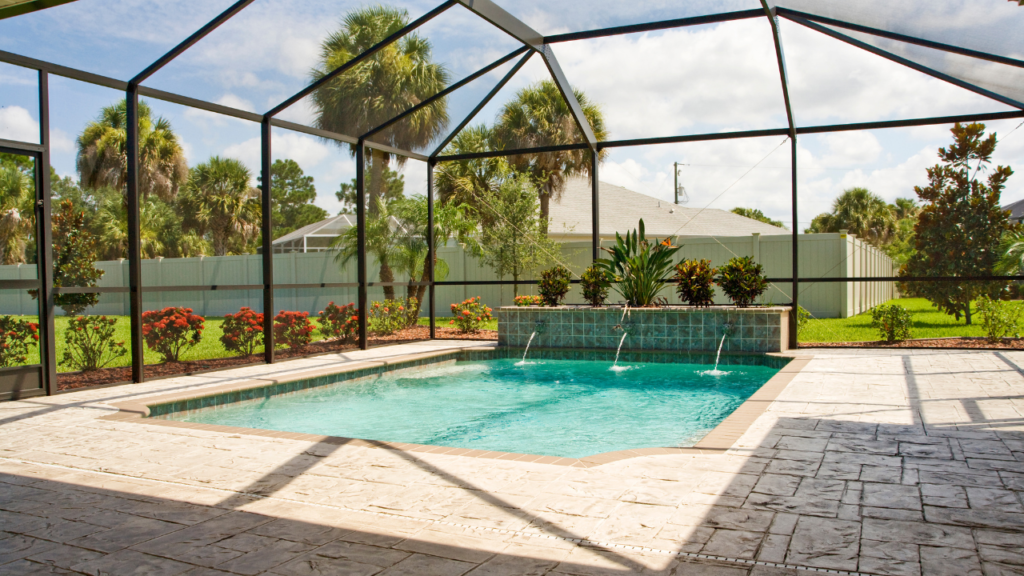
Pool Screen Replacement
There are no hazardous requirements; ensure you have the proper materials. This will help the fix go smoothly. Professionals charge a lot to repair pool screens, but it is easy to fix them yourself for half the cost.
Step 1: Damaged Screen Area
Find the damaged area of your screen. This area can be used to remove the remainder of the screen. It is easier to remove an old screen if you use an already damaged area.
Step 2: Remove the Screen and Thread
Using needle-nose pliers, pull the rubber screen thread away from the pool cage crease.
Pull down on the screen as you remove the old screen thread.
Step 3: Check for Any Leftover Thread
Check your work. The image should be the same as what you have created.
The pool cage should not have any thread in the crease. With the needle-nose pliers, remove any remaining screen thread.
Step 4: Measure the Screen
Measure the area that needs a new roll installed in the pool cage. The new roll of the screen should be cut to the required length.
Don’t cut the excess screen along the side of the pool cage. It will be done at a later stage.
Step 5: Place the Screen and Thread
The new screen thread should be pulled from corner to corner along the creases of the pool cage. Trim any excess thread at the corners.
Press a screen roller against the pool cage’s crease to secure the thread. While rolling over the screen, tightening the thread is helpful.
You can purchase the roller shown in any home improvement retailer. The roller will be next to the pool screen and thread.
Step 6: Remove the Extra Screen
Remove the excess screen from the pool cage’s top, bottom, and sides.
Use the box cutter with caution. Avoid injury by cutting away from the body.
Step 7: Finishing the Job
The newly attached screen should be checked for any issues. The screen should then be tightened so that there are no wrinkles.
Conclusion
Screen replacement for pools is a method that significantly revamps your pool experience, enhancing your outdoor gatherings. Although often overlooked, maintaining your pool screens is fundamental to the upkeep of your swimming area. On that note, professional screen repair services in Bradenton can make all the difference.
The decision to get a replacement or take a do-it-yourself approach depends on the level of damage, your skill, and your comfort level. If DIY seems daunting or the damage is extensive, getting help from professionals is the most reasonable option.
Don’t delay your pool screen repair or replacement. Reach out to Pool Screen Repair Bradenton, FL and give your pool screen the revamp it needs. Enhance your view, improve your pool experience, and enjoy your outdoor gatherings in Bradenton to the fullest.
For a professional, timely, and efficient pool screen service, seek no other than Pool Screen Repair in Bradenton, FL. Contact us today for a free quote!