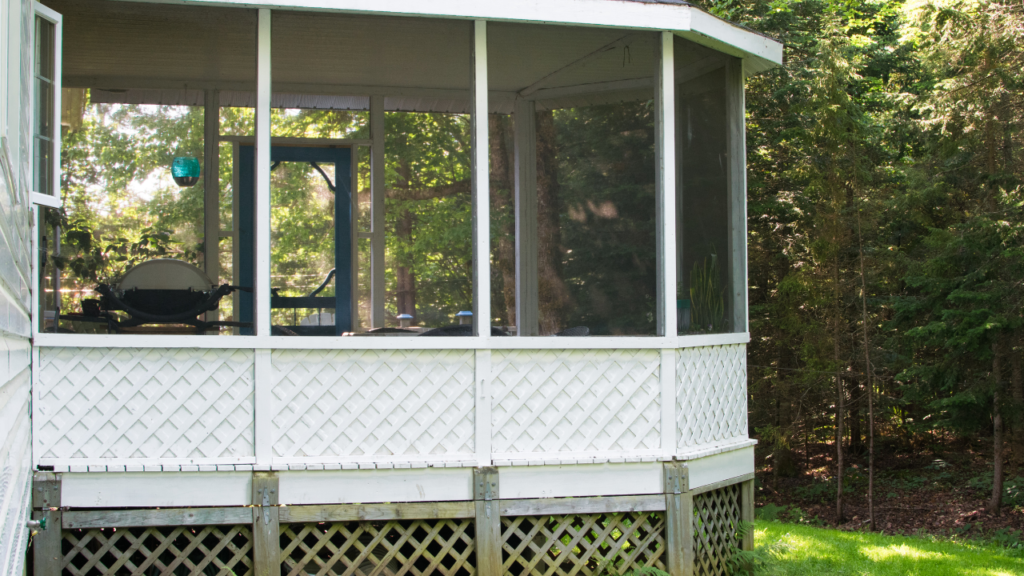
Have you noticed that your patio screen isn’t what it used to be? It could have started to fray, or worse, there’s a noticeable hole that pests use as their gateway. If so, it’s certainly time for a patio screen repair. You’d be amazed at the difference a fresh screen can make to your outdoor living space.
But don’t worry if you’re new to this because we’ve covered you. Welcome to our step-by-step guide on rescreening your patio like a pro. This comprehensive walkthrough will ensure you have a brand-new screen in place and equip you with skills for future maintenance, all while saving on professional repair costs.
So, let’s roll up our sleeves and dive right in!
How to Rescreen Your Patio or Porch
You can enjoy your patio or porch without having to worry about bugs. You can use them to protect your patio furniture and flooring against the harshest sun rays or to keep curious children or pets away. Over time, however, the screen or its fittings may become damaged or torn. This can either make the screen’s purpose ineffective or look bad. You should consider rescreening the areas where you spend time outside.
Two people can successfully repair porch and patio screens if you do it right. Rescreening porches and patios can be done at a reasonable cost, but it will vary depending on what type of screen is used. Spring is the ideal time to repair your porch and patio screens so that you can use them in full force during the summer.
We’ll show you how to rescreen porches and patios and what you’ll require for the task. You’ll also find a guide that will help you to rescreen porches and patios.
How to Rescreen Porch and Patio Areas: Step-by-Step Guide
Step 1: Determine the Materials You’ll Need
Before rescreening your patio or porch, you must create a plan and determine your requirements to complete the project. In this guide, we will use splining instead of tacking or stapling the screen, but the basic principles are the same. The width of the largest screen area will determine the length of the roll. This can range from 2ft up to 8ft. You don’t need to worry about the length, as you will trim off any extra. Rolls can be 100ft in length, so you should always have enough.
Using the splining technique, you’ll need base strips, cap stripes, spline, and a spline roller (or mouse). You’ll need a straight-edged knife or scissors to trim the screen. A hook or pliers will be needed to remove previous staples, spline, or tacks. Also, some 1-inch wood screws or drywall screws are required. For the screws, you’ll need a cordless drill, but this is not essential.
Step 2: Selecting Your Screen Material
The most important decision when rescreening patios or porches is which screen material to use. Fiberglass is the most popular and least expensive option. It is also lightweight, easy to install, and fastens yourself. Aluminum is a better option because it won’t tear but will dent. Other considerations include pets trying to scratch or bulldoze through a screen if they see something on the opposite side. If so, choose a pet-resistant screen from polyester fibers coated with PVC.
Step 3: Install the Base Strips
You need to install the base strips before rescreening your patio or porch. The base strips have two grooves along their length into which you will press the spline to secure the screen. The strips can be cut easily to the desired length. They are usually 8ft in length. Measuring your porch posts’ width is better to ensure that the base strips you buy fit them as closely as possible. This will make it easier to see when they are up. Use a screwdriver or drill to attach the 1-inch screws.
Remove the old porch screen and spline if you have installed your base strips. Use this opportunity to clean the strips and grooves so the rescreening is as smooth as possible.
Step 4: Attaching the Screening
The main event is now the installation of the screen. This will be done using a spline or a cable made from vinyl, hard rubber, or a combination. Don’t worry if you have too much screen. Just measure it out for the section that you want to cover and cut it. After all, you’ll trim it down. Hold the screen in place by pulling it tight. Start at the top of the roller or the one end. Then, insert the spline in the grooves. The screen will stay in place if the spline is tight enough in the groove. You can use your hand to check the tension of the screen. If you are unhappy with the result, or find there is slack, remove the spline.
Step 5: Applying Finish
After the screen has been attached, you must complete a few steps to ensure it looks great. Trim off the excess screen material from the backside with a flat-bladed knife or scissors. After trimming the excess screen material, place the cap strips over the base strip. This will make them look neater and cleaner and keep anyone from grabbing the spline. You can use your hands to press them in or a rubber hammer if you own one. You can use this opportunity to replace the screens on your patio doors or window fittings.
Final Thoughts
The patio and porch screens can be a great way to make your outdoor space more useful. You can easily re screen your patio or porch with the assistance of a friend and some essentials such as measuring tape, screen rolls, spline, and other items. If you’d rather leave the job of rescreening to the experts at Pool Screen Repair Services Bradenton, we are always happy to assist. Our screens are all guaranteed to fit, and our specialists have years of experience helping people choose the right patio or porch screen.

